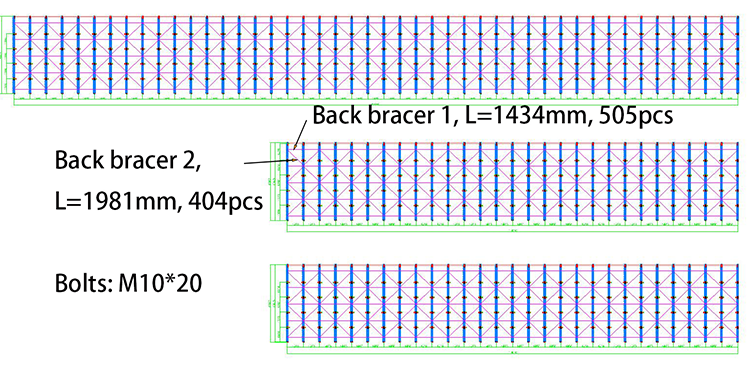
The drive in racking is also one of our popular products, which is suitable for large-scale warehouses with a relatively single variety of products, and can greatly improve the utilization rate of the warehouse. It is more convenient for domestic customers. We can arrange professional installers to install on-site. Of course, foreign customers can also arrange overseas installation. In some cases, customers want to install by themselves, so the installation often as following steps:
First, install all the frame firmly according to the drawings. Distinguish how many frames and how many single columns there are, and the bolts of the frame can be tightened. In the second step, if the clients equipped the ground rail for the racking system, lay the ground rail according to the drawings. Sometimes the aisle is longer and the ground rail is longer. It is necessary to connect the ground rails with a connecting plate, and then put the frame on the ground rail.
The third step is to hang the beam, which is what we usually call the top beam. According to different projects, there are usually two types of top beams, one with the connecting plate at one end, and the other with connecting plates welded at both ends.Usually, three layers are hung first, so that the whole structure will be stronger.
In the fourth part, after the columns are hung on the beams and stabilized, then install the row spacer and frames, single columns. After hanging a few channels, the arms are installed, and the single and double arms are installed according to the drawings. Generally speaking, The one on the side is the single arm, and the one in the middle is the double arm.
The fifth step is to hang the pallet rail, and the sixth step is to install the top bracer, back bracer, and column protector. After installation, take off the excess top beam and install the following passages. The general installation process is the same.
It is very important that the screws are not tightened before the entire racking system is adjusted. After everything is installed and the position is adjusted, start to tighten the screws and install expansion bolts to fix the frame to the ground. Since all the racking are customized for clients, the channels and sizes are different. We will provide detailed installation drawings for every customer.
Post time: Feb-13-2023

